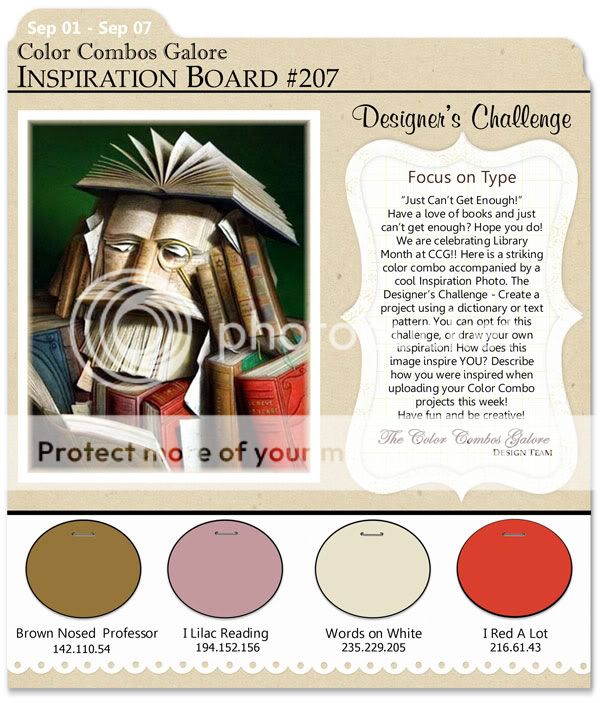
First of all, inspiration board 208 is up over at ColorCombosGalore. At the moment I am really feeling inspired by colour combos. I really wanted to go for lots of colour but ended up using a white background and hints here and there. Used some Amy Tangerine stamps (adore them!), added some mist, thread, 6 pearls and voilà. My passion for photography as a layout.
D'abord je vous montre le combo de chez CCG de ce mois. Je voulais faire une page très colorée mais le résultat final se compose plutôt de touches de couleur.
Then some FANTASTIC NEWS. Against all odds and I was not expecting it at all, I made the SCRAPBOOKNOOK DT. I am really thrilled that I'll be working with some fantastic girls and there are so many scrappy friends on that list. Have a look:
Anna Sigga- Iceland
Carol Monson- USA
Danni Reid-USA
Deanna Misner- USA
Gina Rodgers-Australia
Hilde L Aaslund- Norway
Jaz Lee- Singapore
Jessy Christopher-Malaysia
Katarina Damm-Blomberg- Finland
Kim Moreno-USA (not Canada lol)
Leah Killian-USA
LG Belarmino- Phillipeans
Lilith Eeckels- Belgium
Lisa Kisch- Canada
Marinette LEFEVRE- France
Nicole Nowosad- Canada
Pamella Brown-USA
Shelleye McDaniel-USA
Stacey Michaud- USA
The nook is really one of the best places to be!
One of my layouts will also be published soon in a French scrapbooking magazine. My first!
And then probably what some of you have been waiting for: the tutorial. Yep! I don't buy my albums (might do now that I'm on the AC team and can get a discount) I make them. And it's pretty easy!
Here we go (hope you've got some time as this may take a while).
1. Material:
Thick cardboard: 1 piece: 15½ '' by 13" , 1 piece 15'' by 13" and another 3" by 13"
Fabric to cover
Cardstock: 2 pieces 6" by 12" , 2 pieces 8½" by 12", and another 3" by 12".
Ribbon
decorative tape
double sided tape (I use the one they use for carpets).
2. Step by step instructions.
Lay the cardboard as shown in the photo and cover with double sided tape.
Leave a small gap between the pieces so that your covers will be able to move.
Lay your fabric over the tape and turn the whole thing round.
Fold the corners like so:
And add some more adhesive.
And fold again.
More adhesive:
Take the cardstock and cover. Start in the middle. Don't cover the lines where the covers bend with cardstock! To hide them I used some ribbon and decorative tape (used different ribbon from in the photo with the material!).
Next you need this: (don't know what is is called in French, English or Dutch) and 4 brads (not too small!)
Place it very close to the left hand side of the right cover and mark the spots where you will be putting the brads. Make 4 holes (I used small fine scissors) and add your brads. It will look like this from the back:
Add some ribbon around to keep the layouts in place.
Here is one I made some time ago in dark blue with leftovers from my curtains!
Sorry for the poor quality photos but with kiddos all over the place I had a hard time taking them and didn't get the time to adjust the settings of the camera.
Thanks for looking and if you have a question just leave it in the comments and I'll answer it!
See ya tomorrow and I'll have a little something for you in store!